
Last updated September 24, 2026
Attic Insulation Maintenance Checklist for Campbell Homeowners
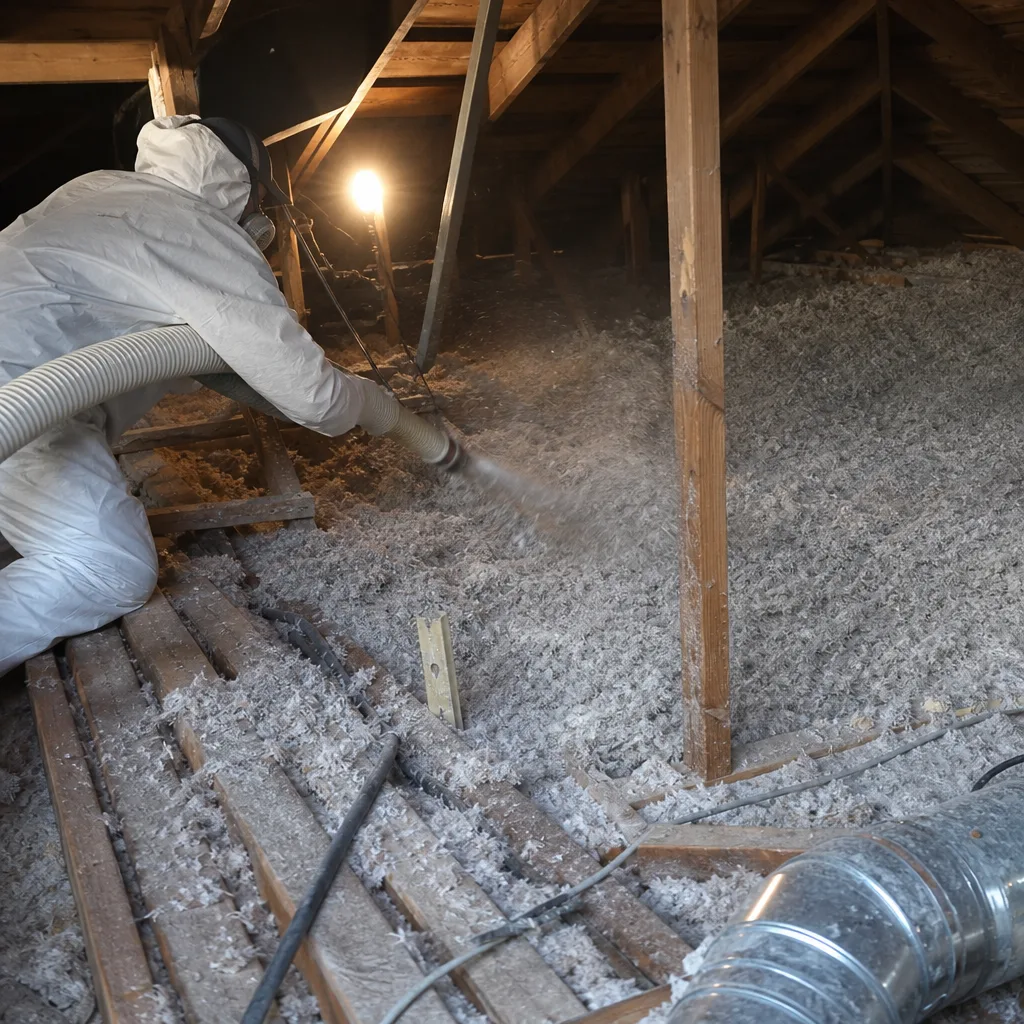
Blown cellulose settled 2 inches in a Campbell attic over seven years - dropping from R-38 to roughly R-28 - and the homeowner had no idea until a blower-door retest showed a 23% increase in air leakage at the same time. Insulation doesn’t fail overnight. It degrades through a predictable sequence of compression, moisture intrusion, pest activity, and air-barrier breach, and each stage leaves a measurable signature you can learn to read yourself. This checklist walks Campbell homeowners through exactly what to look for, what tools you need, and when a signature means it’s time to call someone with a blower door and a written scope.
Quick Answer
Campbell homeowners should inspect attic insulation once yearly, ideally in late September before heating season begins. A proper maintenance check covers four zones: the attic hatch perimeter (the most common failure point in local tract housing), insulation depth and compression patterns, moisture staining or pest disturbance, and temperature anomalies across the attic floor using a basic non-contact thermometer. Document what you find with photos; if compression exceeds 20%, moisture is present, or temperature gaps exceed 15°F between adjacent areas, schedule a professional assessment with blower-door verification or explore our Attic Insulation services.
Table of Contents
- Why Attic Insulation Degrades in Campbell Homes
- Tools You Need (Under $30 Total)
- Step 1: Inspect the Attic Hatch Perimeter
- Step 2: Map Insulation Depth and Compression
- Step 3: Check for Temperature Anomalies
- Step 4: Identify Moisture Damage and Pest Activity
- The Five-Year Blower-Door Retest Case
- Seasonal Timing: When to Inspect in Campbell
- Common Mistakes to Avoid
- When to Call a Professional
- Frequently Asked Questions
- The Bottom Line
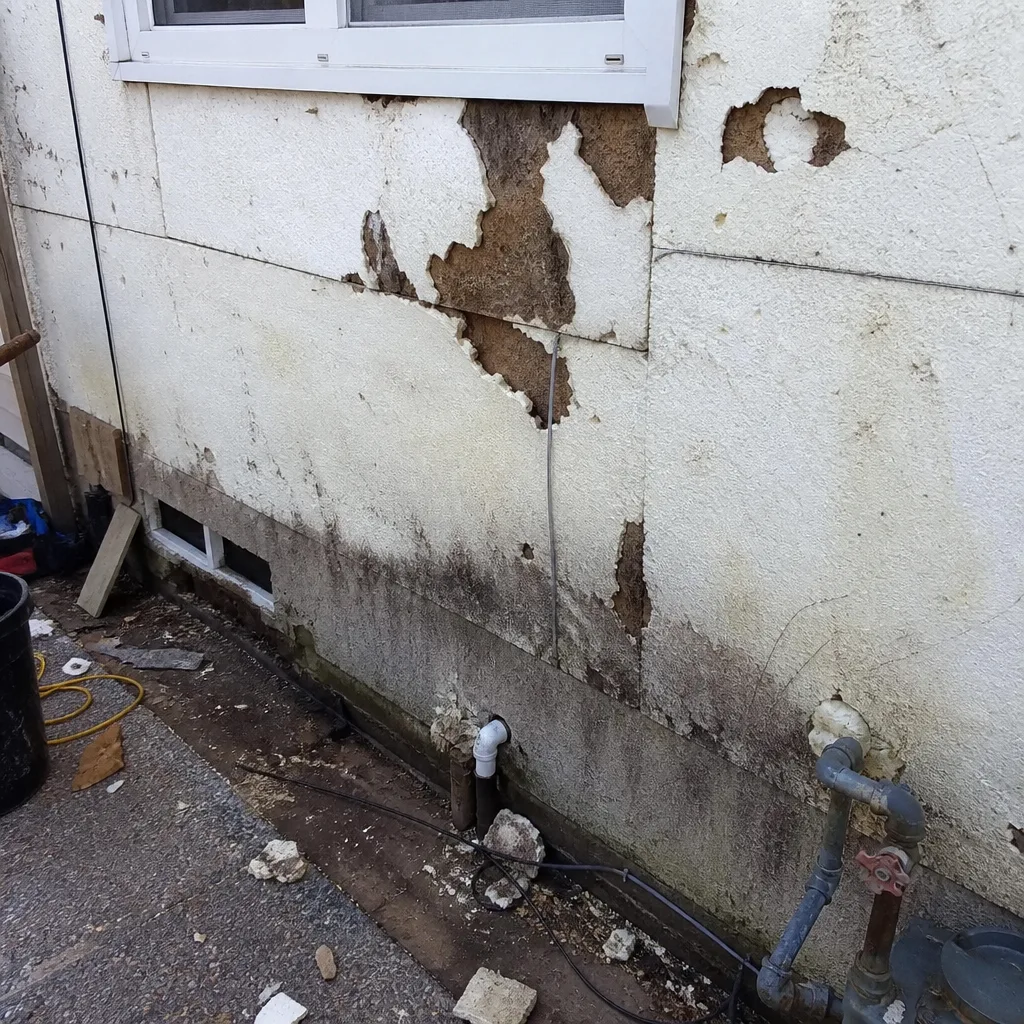 Before
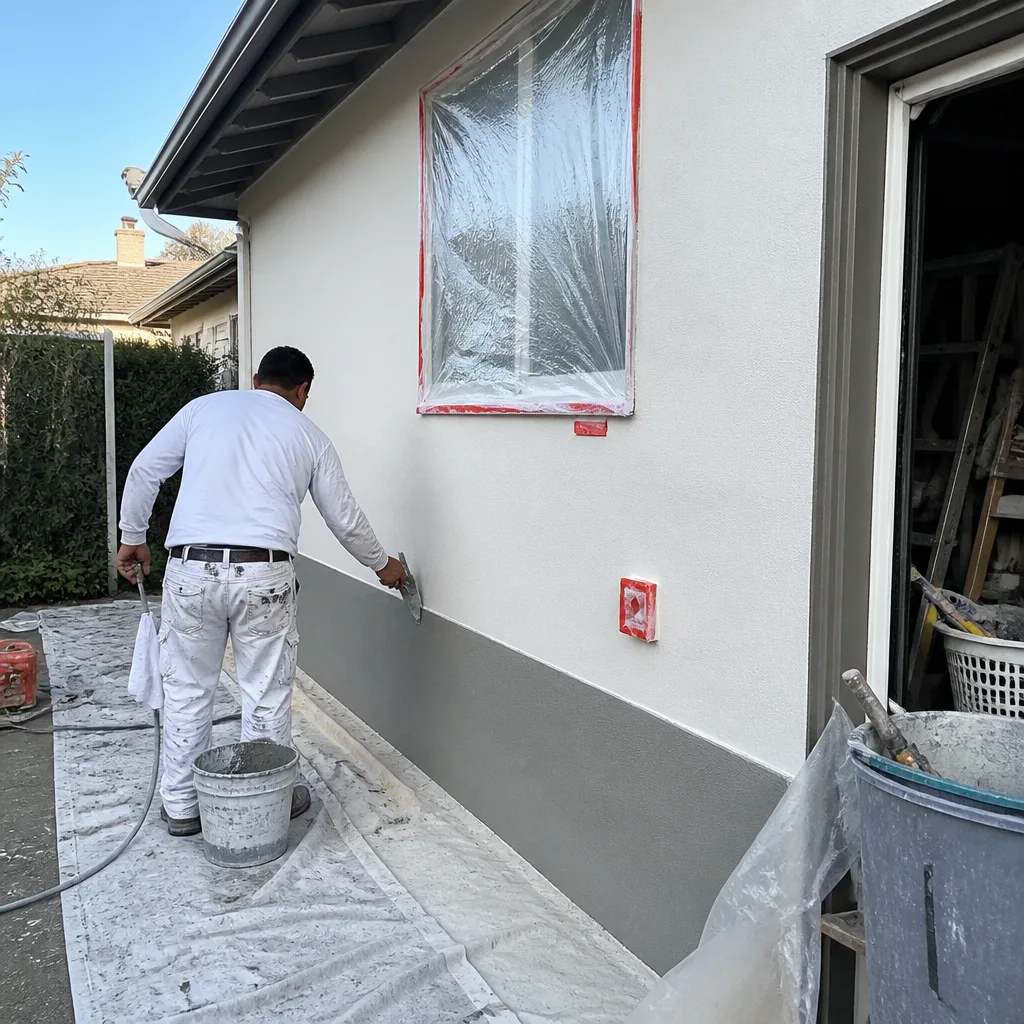 After
AfterWhy Attic Insulation Degrades in Campbell Homes
Campbell sits in Santa Clara County’s inland valley, where summer highs regularly hit the low 90s and winter nights drop into the upper 30s. That 50-plus degree annual swing creates constant expansion and contraction in your building envelope. The specific problems we see in Campbell differ from coastal San Jose or the hills above Los Gatos because of three local factors: the prevalence of post-1970 tract construction with shallow roof pitches, the clay-heavy soils that shift footings and crack ceiling drywall over time, and the mature tree canopy in neighborhoods like the Orchard City District that drops debris and invites rodents.
Insulation degradation follows a sequence. Air leaks develop first, typically at the attic hatch perimeter, top plates, and penetrations for electrical and plumbing. Warm, moist interior air escapes through these gaps, carrying dust and cooking particulates that stain insulation over time. That airflow also disturbs loose-fill cellulose and fiberglass, creating uneven depth patterns that look like settling but are actually active air movement. Moisture from bathroom vents dumped into attic spaces - still common in Campbell’s 1970s and 1980s housing stock - compounds the problem by weighing down insulation and compressing it. Rodents follow the warmth and the nesting material, tunneling through loose-fill and creating pathways that become new air leaks.
The result is a layered failure. By the time a homeowner notices comfort problems or high bills, multiple degradation modes are usually active. The checklist below - and The Complete Guide to Insulation in Campbell - teaches you to read each signature separately, so you know whether you’re looking at a simple top-off, a full removal and replacement, or - most commonly - an air-sealing job that has to happen before any new insulation goes in.
We’ve sealed and insulated over 9,000 homes since 2016, and the pattern holds: the attics that perform worst five years after installation are almost always the ones where air sealing was skipped or done poorly the first time. In Campbell specifically, we see this in the ranch-style homes off Winchester Boulevard and the two-story tract builds near Campbell Park, where original construction often relied on a single layer of R-19 fiberglass batts with no attention to the envelope.
Tools You Need (Under $30 Total)
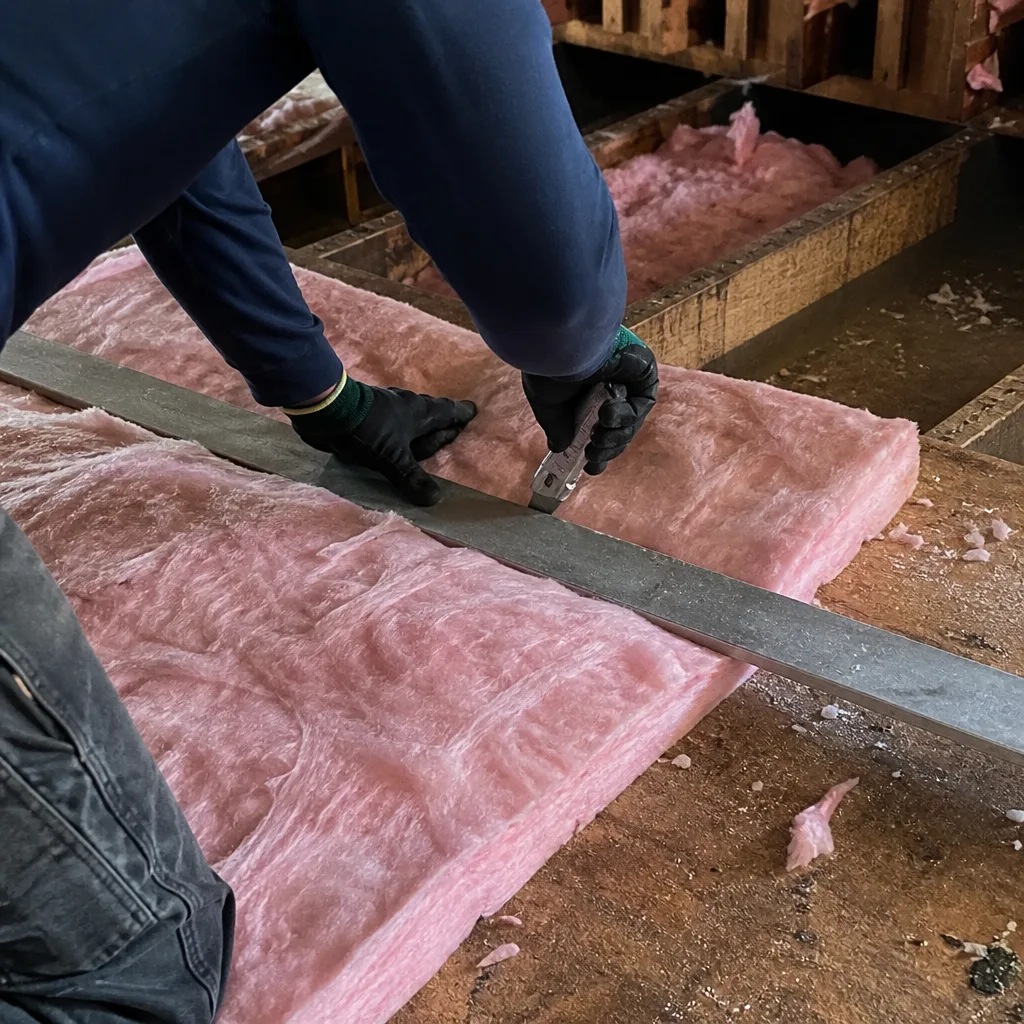
You don’t need professional equipment to perform a useful annual inspection. These four items will let you document what you find with enough precision to discuss it intelligently with any contractor.
- Non-contact infrared thermometer ($12-$18): A basic point-and-shoot model from any hardware store. Measures surface temperature without disturbing insulation. Essential for mapping the attic floor.
- Ruler or yardstick with a T-handle: For measuring insulation depth without compressing it. A simple dowel with a crosspiece works; you want to read depth at the surface level, not push through to drywall.
- Headlamp (not a handheld flashlight): You need both hands free. LED models with 200+ lumens run $8-$15.
- Smartphone for photos: Document everything with date stamps. Take wide shots of each attic quadrant, close-ups of any anomaly, and reference shots showing the location (near the hatch, above a specific room, etc.).
Optional but useful: a respirator rated N95 or higher if your insulation is disturbed or if you suspect rodent activity. Fiberglass and cellulose dust are both respiratory irritants, and dried rodent waste carries health risks you don’t want to inhale.
Step 1: Inspect the Attic Hatch Perimeter
The attic hatch is the single most common air-sealing failure point in Campbell’s housing stock, and it’s the first place to look because it’s the easiest to access and the most likely to show problems.
Campbell’s tract housing - particularly the Eichler-influenced atriums and the 1970s-1990s subdivisions off Bascom Avenue - typically uses either a simple drywall hatch with trim molding or a pull-down ladder assembly. Both designs fail predictably. The drywall hatch rests on a frame with no gasket; seasonal expansion and contraction open gaps at the corners within a few years. Pull-down ladders have worse problems: the frame is rarely sealed to the rough opening, the door itself warps, and the folding joints become leakage highways.
Here’s what to check:
- Look for daylight around the perimeter. Close the hatch from below, turn off attic lights, and check from the living space. Any visible gap is an active air leak. In our experience, a 1/8-inch gap around a 22-by-30-inch hatch equals roughly 15 square inches of open hole - equivalent to leaving a bathroom window cracked year-round.
- Check for insulation displacement on the hatch itself. Many homeowners add a batt or rigid foam to the attic side of the hatch, then find it has shifted, fallen off, or compressed to nothing. Rigid foam should be attached with mechanical fasteners, not tape that dries out in attic heat.
- Inspect the weatherstrip if present. Foam tape degrades in 3-5 years of attic temperature cycling. If it’s cracked, flattened, or missing at corners, replace it with silicone bulb weatherstrip rated for high-temperature exposure, or note it for your contractor.
- Test with your hand on a breezy day. Feel for air movement around the closed hatch. In Campbell, afternoon valley winds from the northwest can pressurize attics and make leaks detectable by hand.
If you find gaps, don’t just add more insulation on top. The air sealing must happen first. Blowing cellulose or fiberglass over an unsealed hatch perimeter traps moist air in the insulation and accelerates degradation. This is why Topside Attic Insulation Campbell home assessments always begin with a pressure-test and written scope before any material is specified.
Step 2: Map Insulation Depth and Compression
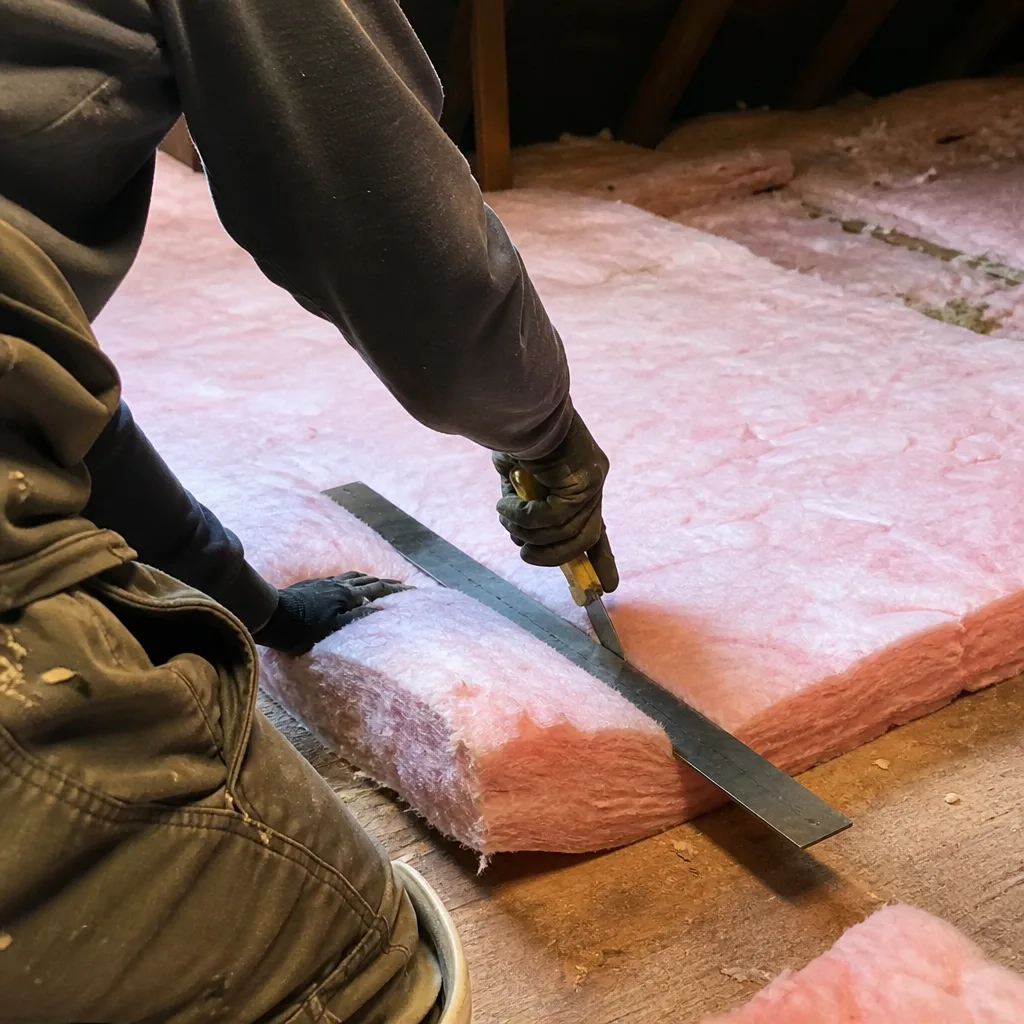
Compression is the most common form of insulation degradation, and it’s the one homeowners miss most often because it looks normal. Settled insulation still covers the ceiling; it just doesn’t perform at its rated R-value.
Start by finding your original insulation depth. If you have documentation from installation, use that. If not, measure in an undisturbed corner away from traffic paths, the hatch, and any known problem areas. This gives you a baseline for what the material was designed to achieve.
Then take depth readings on a grid: every 4-6 feet across the attic floor, and specifically at these locations:
- Near the hatch (foot traffic compresses insulation even if you’re careful)
- Under any storage platform or plywood walking surface
- Near bathroom vents, kitchen vents, or any penetration
- In the center of each major attic bay, away from joists
- Near the eaves, where wind washing and installer reach limitations often leave thin coverage
Document each reading with a photo showing the ruler in place. You’re looking for two patterns:
Uniform settling: All readings are lower than original by a similar amount. This is normal for loose-fill cellulose, which settles 10-15% in the first year and stabilizes. In Campbell’s dry climate, further settling is usually minimal unless there’s active disturbance. If total depth has dropped more than 20% from design, it’s time to consider a top-off - but only after air sealing is verified.
Spot compression or displacement: Some areas read normal, others read significantly lower. This indicates active air movement, foot traffic, or pest activity. The insulation hasn’t just settled; it’s been moved. These areas need investigation, not just more material.
A specific Campbell note: homes in the Pruneyard area and near the Los Gatos Creek trail often have mature oak canopy overhead. Acorn debris and leaf litter accumulate in gutters, back up into roof valleys, and create moisture intrusion that compresses insulation locally. If you find compression concentrated below a valley or near a dormer, check the roof exterior for debris buildup.
Step 3: Check for Temperature Anomalies
This is where the $12 non-contact thermometer becomes essential. You’re going to map surface temperatures across the attic floor without disturbing the insulation, and the pattern you find tells you more than visual inspection alone.
Here’s the method:
- Wait for a day with at least a 20°F temperature difference between outdoor and indoor conditions. In Campbell, late September mornings work well: outdoor temps in the low 60s, indoor thermostat at 72-75°F.
- Enter the attic quickly and close the hatch behind you. You want minimal disturbance to the thermal layer.
- Take readings on the insulation surface every 3-4 feet on a grid, staying on joists or a plank to avoid compressing material. Record or photograph each reading with its location.
- Take readings on any exposed ductwork, the attic hatch, and any visible penetrations.
What the numbers mean:
- Uniform temperatures close to indoor ambient: Good insulation and air sealing. The conditioned space below is protected.
- Temperatures 10-15°F below ambient in patches: Thin or compressed insulation. The ceiling below is losing heat (or gaining it, in summer).
- Temperatures matching outdoor ambient in specific spots: Active air leaks. You’re reading outside air moving through the envelope. Common locations: hatch perimeter, top plates, recessed can lights, plumbing and electrical penetrations, chimney chases.
- Temperatures significantly above ambient in summer, or below in winter, on duct surfaces: Duct leakage or missing duct insulation. This is common in Campbell’s original tract construction, where flex duct was often installed with minimal sealing and no insulation upgrade.
A real example from our files: a Campbell homeowner on Rincon Avenue mapped her attic and found a 22°F temperature gap between the center of her master bedroom ceiling and the hallway below the same attic. The difference? A bathroom vent fan dumping moist air into the attic had compressed and degraded insulation in that bay, while the rest of the attic remained intact. The visual inspection looked fine; the thermometer revealed the problem in five minutes.
Temperature mapping also helps you prioritize. A 5°F variation across the attic floor might warrant monitoring. A 15°F gap demands action. Multiple gaps in a pattern that follows framing members or penetrations indicates systemic air-sealing failure, not just insulation loss.
Step 4: Identify Moisture Damage and Pest Activity
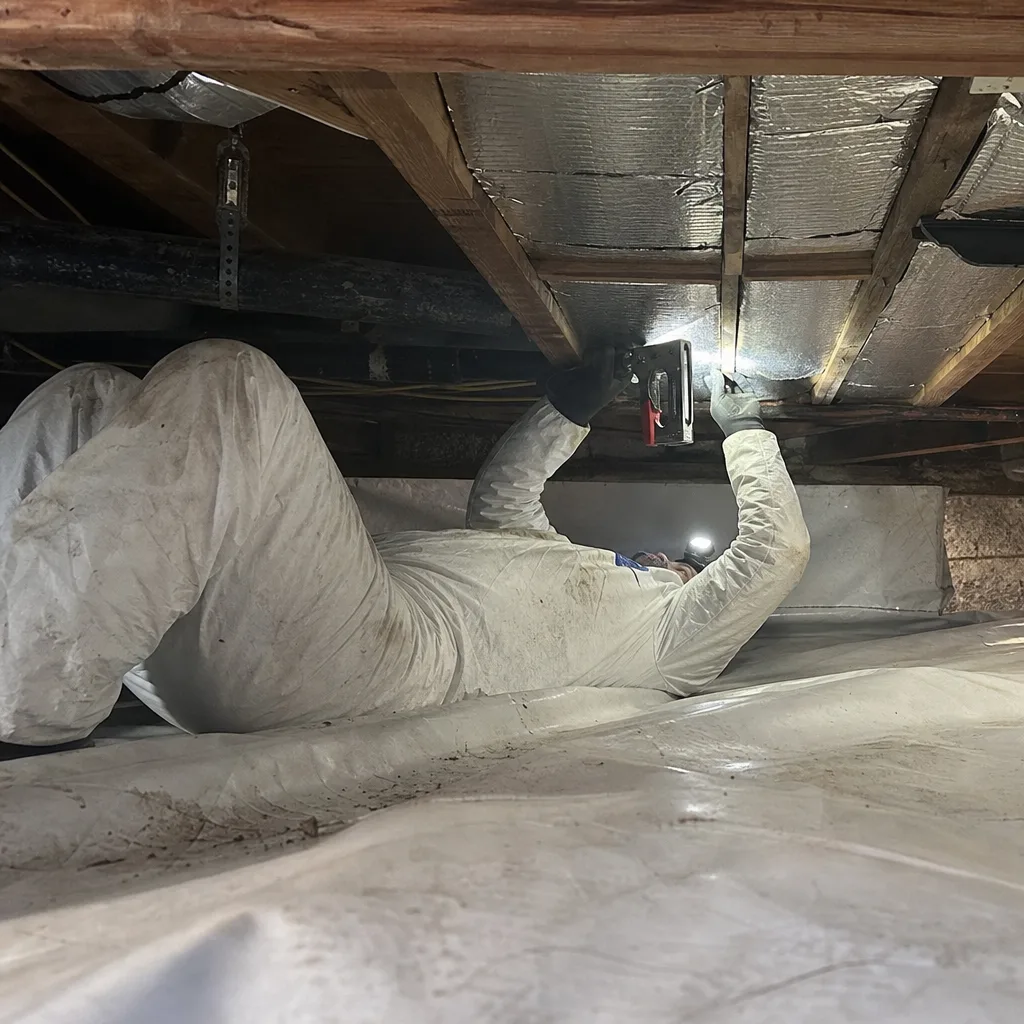
Moisture and pests create distinct signatures that are often mistaken for normal settling. Learning to tell them apart prevents both unnecessary work and missed problems.
Moisture Damage
In Campbell’s Mediterranean climate, attic moisture comes from three sources: bathroom and kitchen vents terminated in the attic rather than through the roof (still present in a surprising percentage of pre-1990 homes), roof leaks from valley or flashing failures, and condensation on cold surfaces in winter when warm, humid interior air reaches the attic.
What to look for:
- Dark staining on insulation: Cellulose turns gray or black; fiberglass retains its color but the binder degrades, leaving it fluffy and unbonded. Staining that follows a rafter line or concentrates below a penetration indicates a point source. Widespread darkening suggests chronic venting failure.
- Insulation clumping or matting: Moist cellulose forms dense, cake-like masses that no longer loft. You can press on them and they don’t spring back.
- Corrosion on metal: Nail heads, HVAC straps, or electrical boxes with rust or white oxidation indicate sustained humidity above 70%.
- Mold on sheathing: Check the underside of roof decking, especially north-facing slopes that stay cooler. In Campbell, we see this most often in homes with original bathroom vents and no ridge venting.
If you find active moisture, stop the inspection and address the source before adding or replacing insulation. Wet insulation is worse than no insulation - it conducts heat, supports mold, and destroys structural materials.
Pest Activity
Rodents are the primary attic pest in Campbell, with roof rats and mice both common. They don’t just nest in insulation; they tunnel through it, compressing pathways that become permanent air leaks even after the animals are removed.
What disturbed insulation looks like:
- Runways: Compressed, smooth pathways 2-3 inches wide through loose-fill material, often following joists or leading to penetrations. The surface looks packed and shiny from oils in the animals’ fur.
- Nesting pockets: Bowl-shaped depressions 6-12 inches across, often lined with shredded material or containing droppings. These are typically found near warmth sources: flue pipes, recessed light housings, or the attic hatch perimeter.
- Tunneling in fiberglass batts: Rodents push between batts and compress the center, leaving a hard, flat trail. Unlike settling, which lowers the whole batt uniformly, tunneling creates a distinct path with raised edges.
- Droppings: Rice-shaped, dark, and often concentrated along runways. Fresh droppings are black and soft; old ones are gray and crumble.
Normal settling does not create smooth, oily runways or nesting pockets. If you find these signatures, insulation replacement is usually necessary - but again, air sealing must happen first. Rodents enter through gaps that are also air leaks, and those gaps must be found and sealed or new insulation becomes a fresh nesting ground.
In Campbell’s older neighborhoods near downtown, we’ve found that original construction often left substantial gaps at eaves and soffits for attic ventilation. These same gaps provide rodent highways. Modern vent screening should be part of any remediation, and it’s part of our standard scope when we find active pest signatures.
The Five-Year Blower-Door Retest Case
Visual inspection, even with temperature mapping, misses a category of degradation that only pressure testing reveals: the slow breach of your air barrier through materials that still look intact.
A blower-door test - a pressurization reading that shows, in one number, how much air your building envelope is losing - establishes a baseline at installation. We provide before-and-after numbers on every applicable job, and we recommend a five-year retest for a specific reason: air-barrier degradation often precedes visible insulation failure by 2-3 years.
Here’s the mechanism. Acrylic latex caulk, the standard air-sealing material for top plates and penetrations, shrinks and cracks over time. In Campbell’s hot, dry attics, this happens faster than in cooler climates. The cracks are often hairline and invisible from six feet away. But they add up. A home that tested at 2,800 CFM50 after air sealing might read 3,400 CFM50 five years later - a 21% increase in leakage - with no visible change in the attic.
That increased air movement disturbs insulation, carries moisture, and creates the conditions for the compression and pest problems described above. The blower-door number catches it before the symptoms appear.
We publish before-and-after blower-door numbers on every applicable job so homeowners have a documented baseline. If you’re in a home where previous work was done without this documentation, a standalone blower-door test runs $250-$400 in the Campbell market and provides a reference point for all future maintenance decisions. The test itself takes under two hours and doesn’t disturb insulation.
For Attic Insulation in Campbell work that includes air sealing, we consider the blower-door result part of the deliverable - not an extra, but the proof that the work performed as specified. Under Haven Standard Clause 1, you get a written price before any work starts, and that price includes the test when applicable.
Seasonal Timing: When to Inspect in Campbell
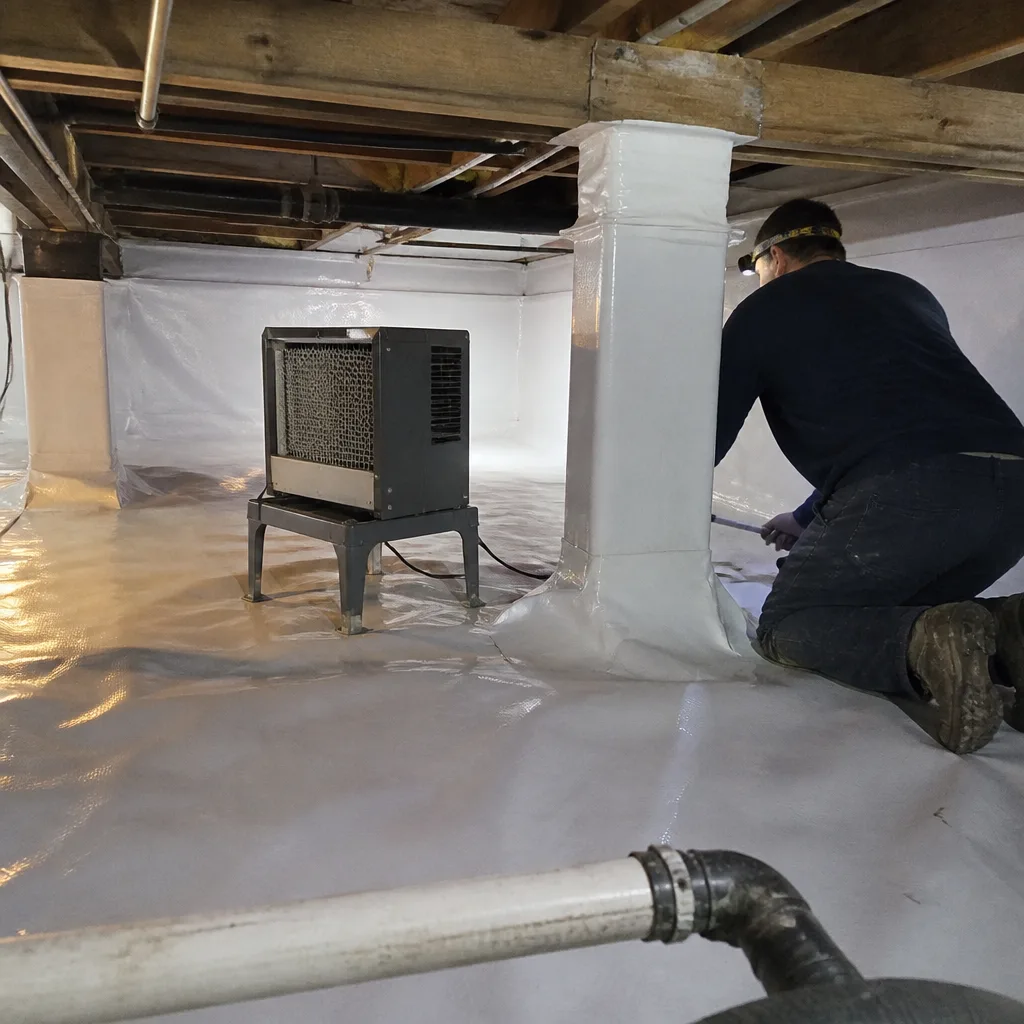
Late September is the optimal inspection window for Campbell homeowners. Here’s why:
- Temperature differential: Morning lows in the low 60s and afternoon highs in the low 80s create reliable conditions for thermal mapping. You need that 20°F+ indoor-outdoor gap for the non-contact thermometer to reveal problems clearly.
- Before heating season: Gas furnaces and heat pumps start cycling regularly in October. You want to identify and address problems before you’re paying to heat the attic.
- After summer stress: Campbell’s hottest months test attic ventilation and any moisture issues from roof leaks. Problems that developed over summer are still fresh and detectable.
- Contractor availability: The October-November scheduling window is less congested than peak summer or winter emergency periods. If you find problems that need professional attention, you’re more likely to get your preferred date.
Some items can wait for this annual window. Others indicate immediate action regardless of season:
| Can Wait for Annual Inspection | Schedule Professional Assessment Now |
|---|---|
| Uniform settling under 20% of original depth | Active roof leak or visible water staining |
| Minor hatch perimeter gaps (weatherstrip replacement) | Rodent droppings or active nesting evidence |
| Temperature variations under 10°F across attic floor | Mold on roof sheathing or rafters |
| Compression limited to known storage areas | Insulation saturated or clumped from moisture |
| Isolated thin spots near eaves | Sudden spike in energy bills with no other cause |
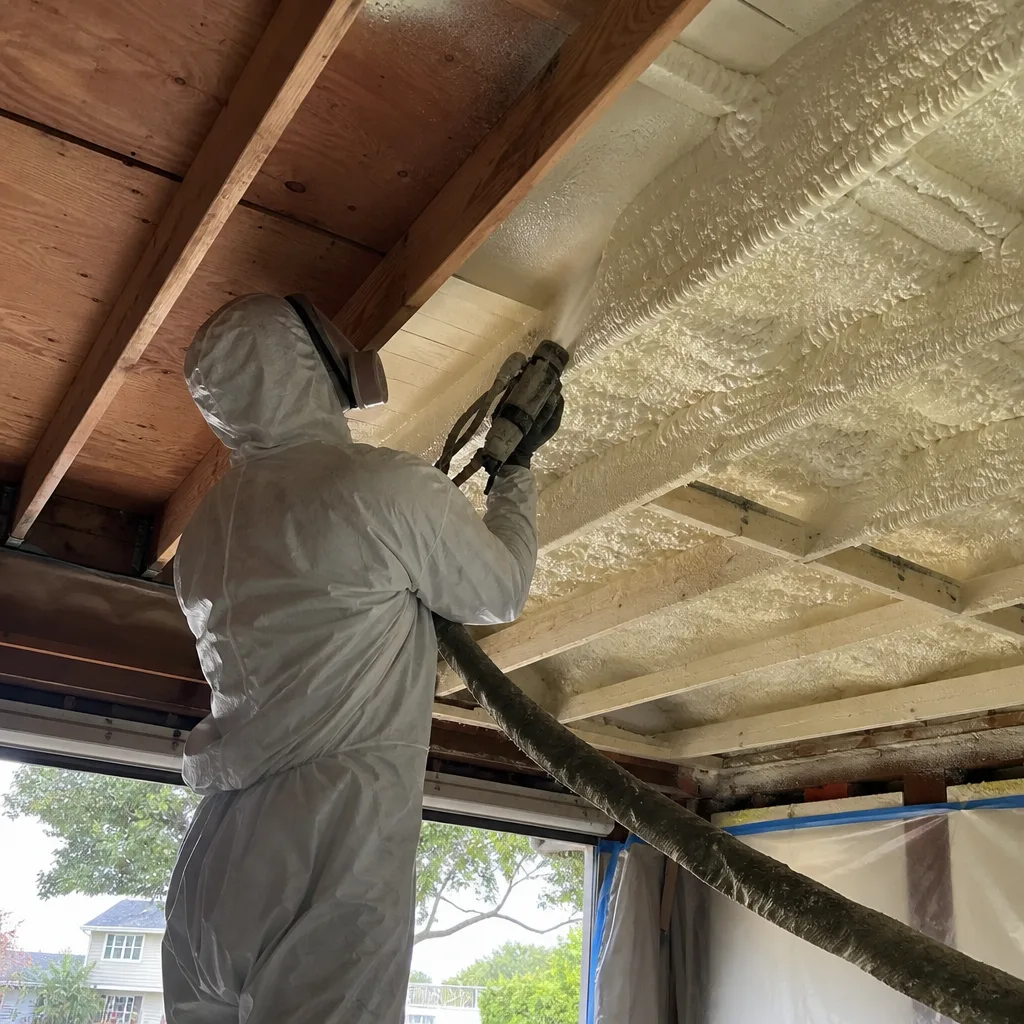
If your home has spray foam insulation, inspection timing is more flexible. Closed-cell foam doesn’t settle or compress, but it can delaminate from substrates or develop shrinkage cracks. Annual visual inspection still applies, with particular attention to the foam-to-framing interface. Spray Foam Insulation in Campbell requires different maintenance protocols than loose-fill or batt systems.
Common Mistakes to Avoid
- Adding insulation over unsealed air leaks: This is the most common error we correct in Campbell. New insulation traps moist air, accelerates degradation, and hides the real problem. Air sealing must precede any insulation work - it’s not an upgrade, it’s a prerequisite.
- Compressing insulation with storage platforms: A sheet of plywood laid on fiberglass or cellulose crushes the material beneath to a fraction of its R-value. If you need attic storage, build a raised platform on posts that extend to the joists, leaving insulation undisturbed below.
- Ignoring the bathroom vent: In Campbell’s 1970s-1980s housing stock, bathroom fans often terminate in the attic with a 4-foot flex duct draped over a rafter. That moist air destroys insulation within a 6-foot radius. The vent must exit through the roof or gable end, not into the attic.
- Using the wrong insulation for the application: Fiberglass batts perform poorly in irregular spaces and are easily disturbed by air movement. Loose-fill cellulose conforms better but requires proper density to resist settling. In some Campbell attics with severe rodent history, a mineral wool product like Rockwool or a dense-pack cellulose approach is more appropriate than standard loose-fill.
- Skipping documentation: Photos with date stamps, depth readings, and temperature maps create a record that proves invaluable when you sell the home or dispute a contractor’s scope. We’ve seen homeowners save thousands by showing a five-year photo sequence that proved degradation was gradual, not sudden failure.
- Treating pest removal as the final step: Trapping or poisoning rodents without sealing entry points and replacing contaminated insulation wastes money. The Haven Standard approach: document, remove, seal, replace, verify with blower-door testing.
- Assuming new construction is exempt: Campbell’s building code improved significantly in 2019, but enforcement varies, and trade sequencing errors are common. We’ve found unsealed top plates and open soffits in homes built in 2022. Don’t assume; verify.
When to Call a Professional
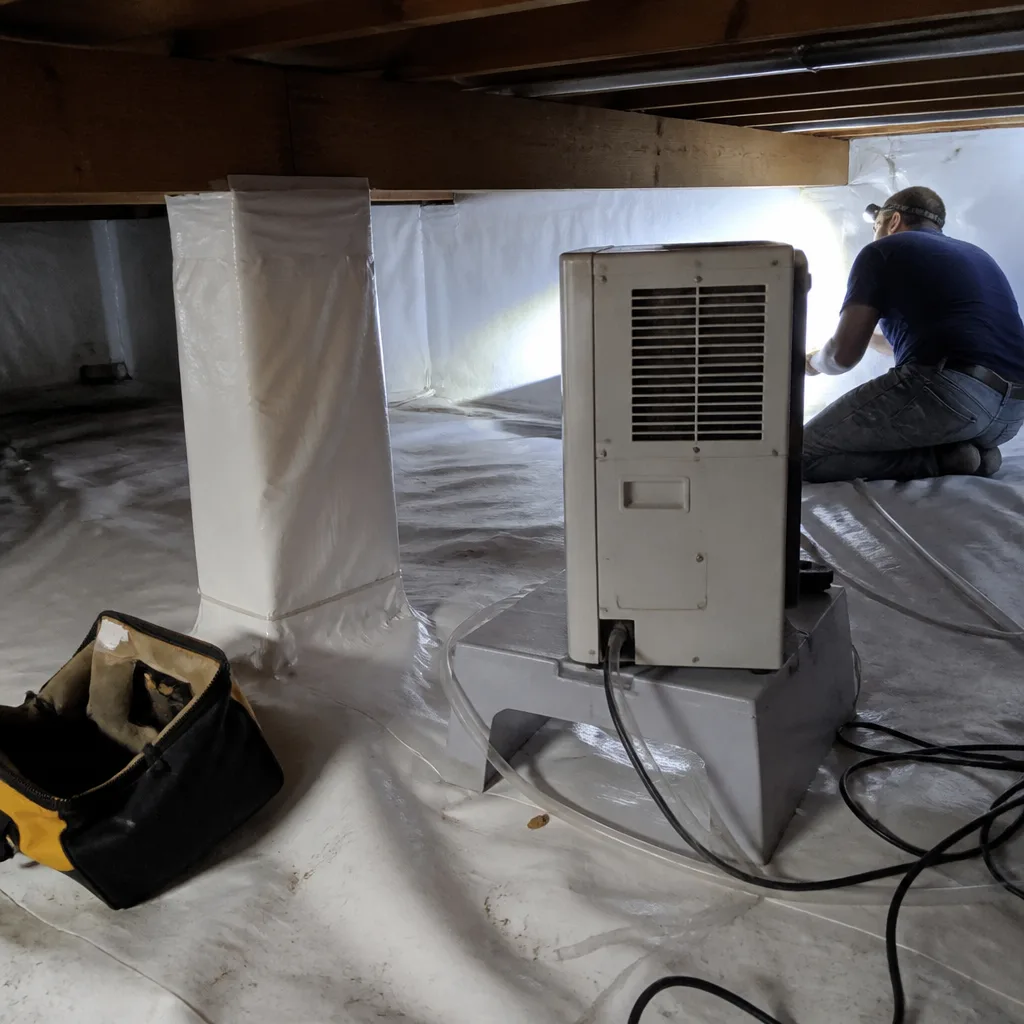
Call for a professional assessment when your inspection reveals active moisture, pest contamination, temperature gaps exceeding 15°F, or compression beyond 20% of design depth. Also call if your home has never had a blower-door test - you need that baseline number to guide maintenance decisions.
Topside Attic Insulation Campbell offers free estimates in Campbell. We’ll review your documentation, perform a blower-door test if applicable, and provide a written scope and written price before any work is discussed. Every job closes with a Documented Photo Record, and on applicable work, you’ll receive before-and-after blower-door readings showing the actual performance change. Call (831) 534-3206.
For homes with crawl space concerns in addition to attic work, Crawl Space Encapsulation & Vapor Barrier in Campbell addresses the full building envelope as an integrated system.
Frequently Asked Questions
Most annual inspections cost nothing if you do them yourself with the tools described above. Professional blower-door testing runs $250-$400 in the Campbell market. If remediation is needed, air sealing and insulation top-off work in a typical 1,500-square-foot Campbell home runs $1,800-$3,400, while full removal, air sealing, and replacement with new loose-fill cellulose to current code typically ranges $3,500-$6,200. Call (831) 534-3206 for a free estimate with a written price before any work starts.
Perform a basic visual and thermal inspection annually, ideally in late September. For more guides & resources, visit our blog. Schedule a professional blower-door retest every five years, or sooner if you notice comfort changes, energy bill spikes, or any of the warning signs described in this checklist.
Only if the old insulation is dry, uncontaminated, and the air barrier below it has been verified. In Campbell, we find that roughly 60% of attics where homeowners want a simple top-off actually need air sealing first. Adding material over leaks traps moisture and wastes money. A blower-door test determines whether top-off is appropriate.
Current California Title 24 code requires R-38 minimum for attic insulation in Climate Zone 4, which includes Campbell. Many homes built before 2010 have R-19 or less. If you’re adding insulation, target R-38 to R-49 for optimal performance in our climate. Note that R-value is measured at full loft; compressed insulation performs at a fraction of its rating.
Look for smooth, oily runways 2-3 inches wide through loose-fill insulation; bowl-shaped nesting depressions; rice-shaped droppings concentrated along paths; and compressed tunnels in fiberglass batts with raised edges. Normal settling is uniform; rodent disturbance creates distinct patterns. If you find these signs, insulation replacement is usually necessary after entry points are sealed.
Each material has appropriate applications. Closed-cell spray foam provides the highest R-value per inch and acts as its own air barrier, making it ideal for tight spaces or cathedral ceilings where depth is limited. Loose-fill cellulose offers better coverage in irregular attics and is more cost-effective for standard applications. Fiberglass batts are rarely our first recommendation for attics due to air-movement vulnerability. We specify Rockwool, CertainTeed, Icynene, or Demilec products based on the home’s specific conditions, with no proprietary lock-in.
Under the Haven Standard, you should receive four documents before work begins: a written scope describing exactly what will be done, a written price with no open-ended items, a written warranty, and the scheduled arrival window with technician name. After work, you should receive a Documented Photo Record of the completed installation and, on applicable jobs, before-and-after blower-door readings. If a contractor won’t provide these in writing, that’s information about how they operate.
The Bottom Line
Attic insulation in Campbell degrades through a predictable sequence you can learn to read: compression from time and traffic, moisture from venting failures and roof problems, pest disturbance that creates permanent air pathways, and air-barrier breaches that instruments catch before eyes do. The annual inspection - hatch perimeter, depth mapping, thermal scan, moisture and pest check - takes under an hour and costs under $30 in tools. The five-year blower-door retest provides the performance verification that visual inspection cannot. Document everything. Address air sealing before adding insulation. And when the signatures indicate professional work, demand written scope, written price, and documented results before anyone lifts a tool.
Written by Wes Okafor, Owner at Topside Attic Insulation Campbell, serving Campbell since 2016.