
Last updated September 24, 2026
DIY vs Professional Insulation: The Campbell Homeowner’s Decision Guide
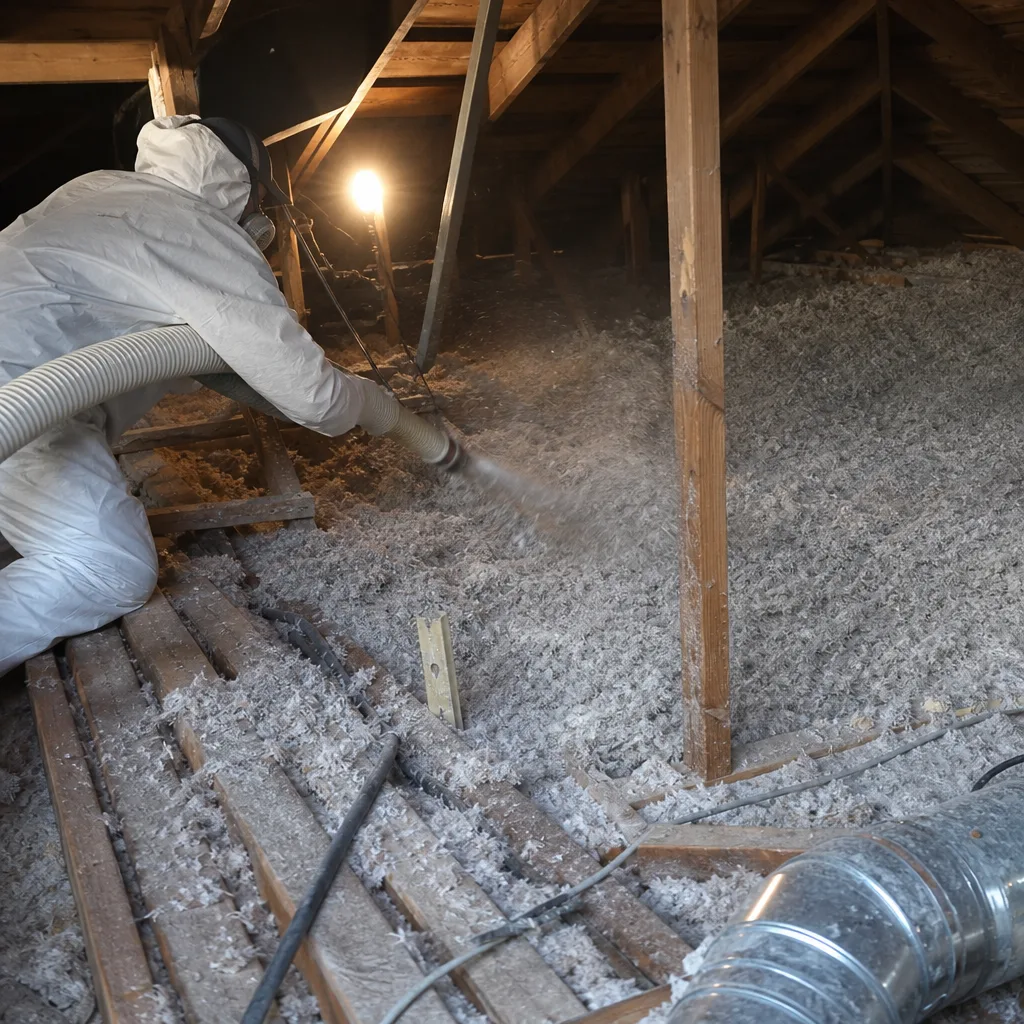
Here’s a number that stops most conversations in our office: a homeowner can buy enough blown cellulose from a Campbell-area big-box store to add six inches to a 1,200-square-foot attic for roughly $600 in materials, rent the machine for a weekend, and finish before Monday. We’ve walked into dozens of Campbell attics where exactly this happened. The insulation looks full and even. But the blower-door test still reads 3,800 CFM50 because nobody sealed the top plates, the can lights, or the chase running down from the second floor. The homeowner spent $600 and a Saturday and got a warmer attic - but the house still leaks conditioned air at the same rate it did before. This guide will show you where the DIY path genuinely works in Campbell, where it fails without specialized instruments, and how to decide which side of that line your project sits on. For more guides & resources, see our blog.
Quick Answer
DIY insulation makes sense in Campbell when you’re adding depth to an already-sealed attic, weatherstripping a hatch, or insulating an accessible crawlspace with rigid foam. For anything requiring air-sealing verification - top plates, recessed lights, wall cavities, or any home built before 1990 - the deciding factor isn’t skill, it’s instrumentation. Without a blower-door test before and after, you cannot verify that your work changed the building’s performance, and in Campbell’s mild-but-variable climate, unsealed insulation often underperforms for years before anyone notices.
Table of Contents
- Where DIY Insulation Actually Works in Campbell
- Where DIY Fails: The Instrument Problem
- Equipment Reality Check: What It Costs to Measure
- Permits, Liability, and Resale in Campbell
- Decision Matrix: DIY or Hire?
- Honest Cost Comparison for Campbell Homes
- Common Mistakes to Avoid
- When to Call a Professional
- Frequently Asked Questions
- The Bottom Line
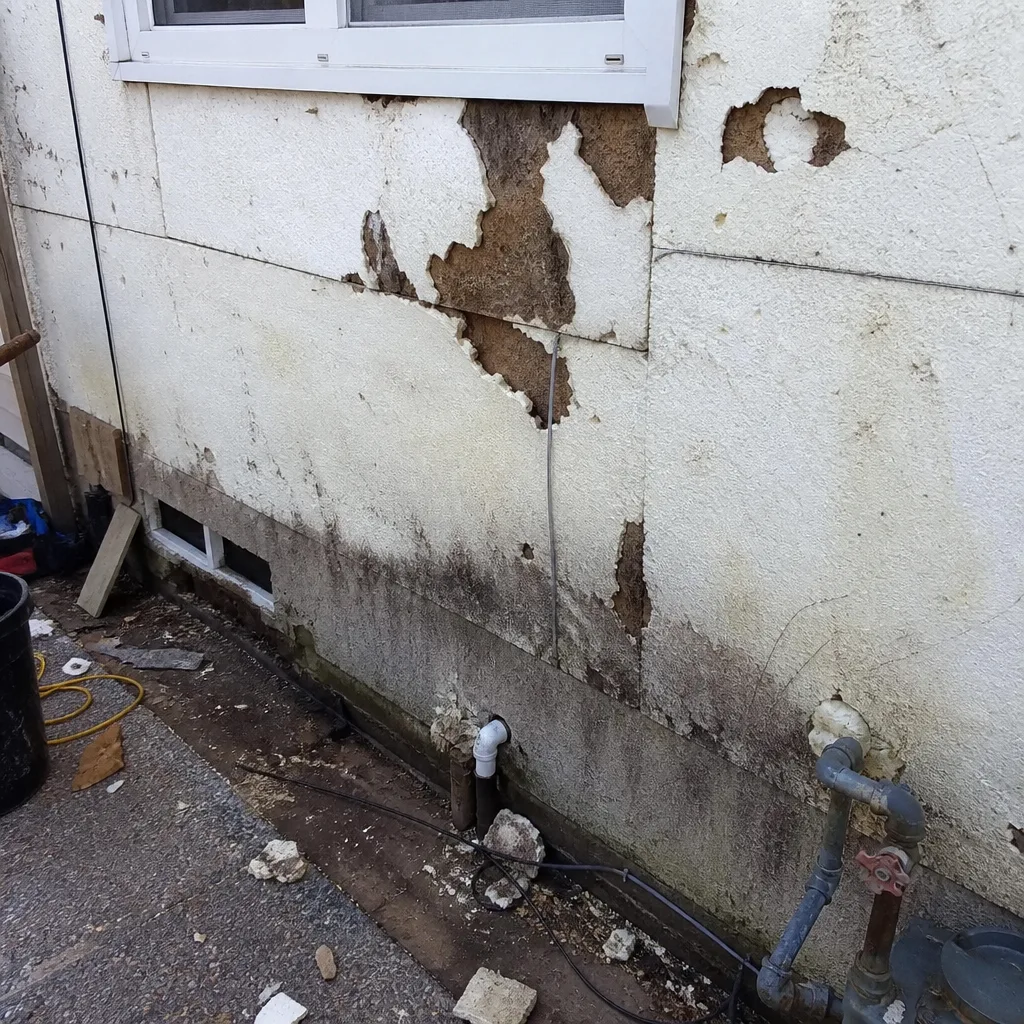 Before
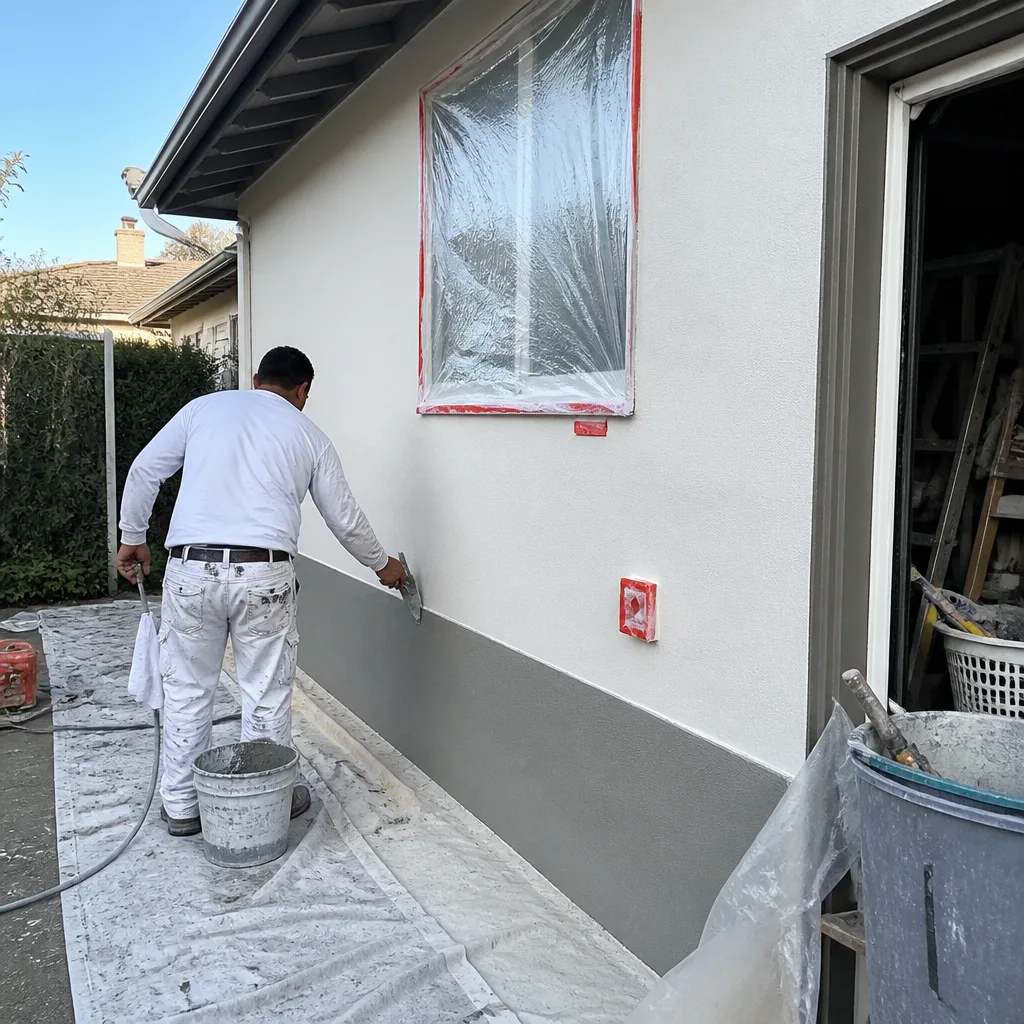 After
AfterWhere DIY Insulation Actually Works in Campbell
Campbell’s housing stock splits into three rough categories: post-war bungalows in the older grid near downtown, 1970s-1990s tract homes in neighborhoods like West Campbell and the Pruneyard area, and 2000s-era builds near the San Tomas corridor. Each presents different DIY opportunities.
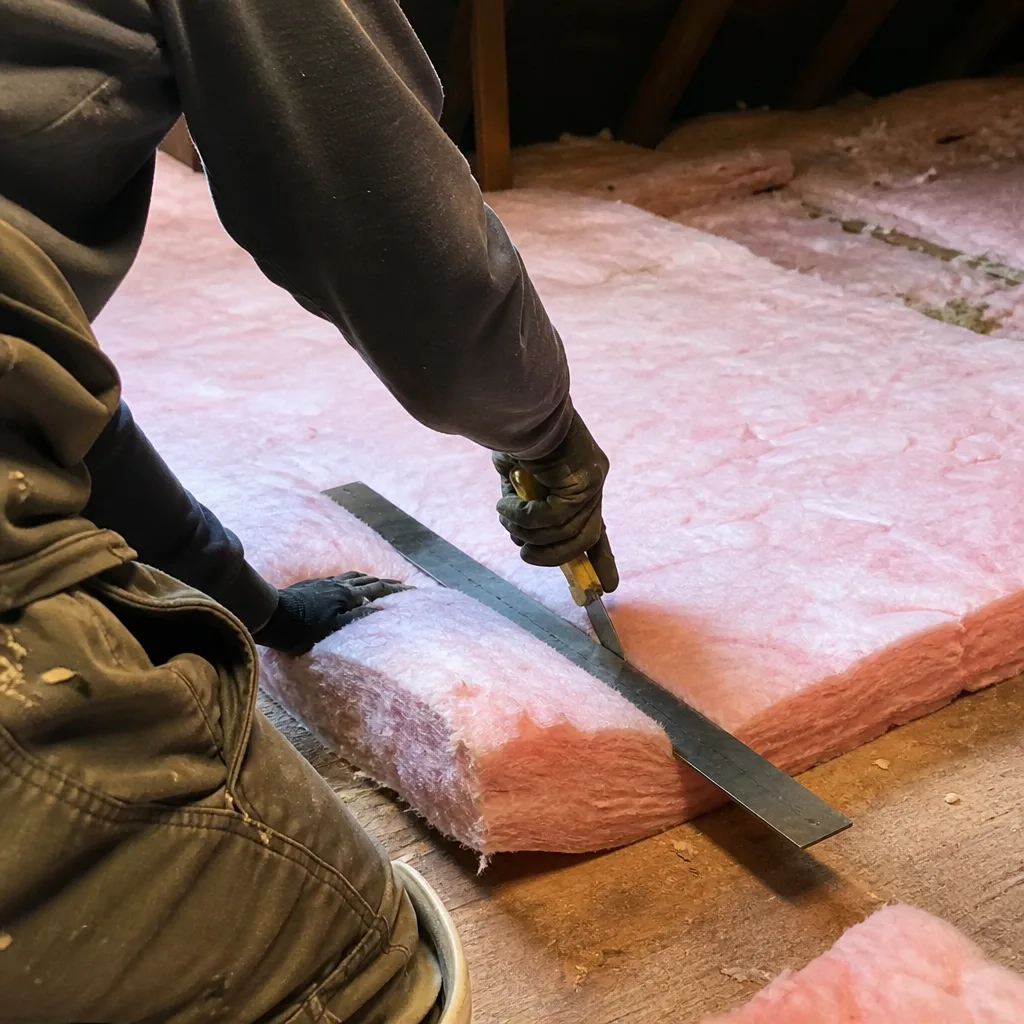
Adding blown-in depth to an existing adequate air barrier. If your attic already has a continuous air barrier - typically foam-sealed top plates, sealed can lights or surface-mounted fixtures, and a sealed chase - adding blown cellulose or fiberglass is straightforward. The key phrase is “existing adequate air barrier.” In our experience, about 15% of Campbell homes built after 1995 qualify. You verify this with a visual inspection: no visible gaps at plate lines, no recessed light housings poking through, no open chases. If you can see the tops of walls, you don’t have an air barrier yet.
Weatherstripping an attic hatch or pull-down stair. This is pure material work. Buy a pre-made hatch cover kit or build one from rigid foam and weatherstripping. Cost runs $40-$120 depending on whether you buy or build. Time investment: two to four hours. The improvement is real but modest - a typical unsealed hatch leaks at roughly 100-200 CFM50, which is measurable but not transformative.
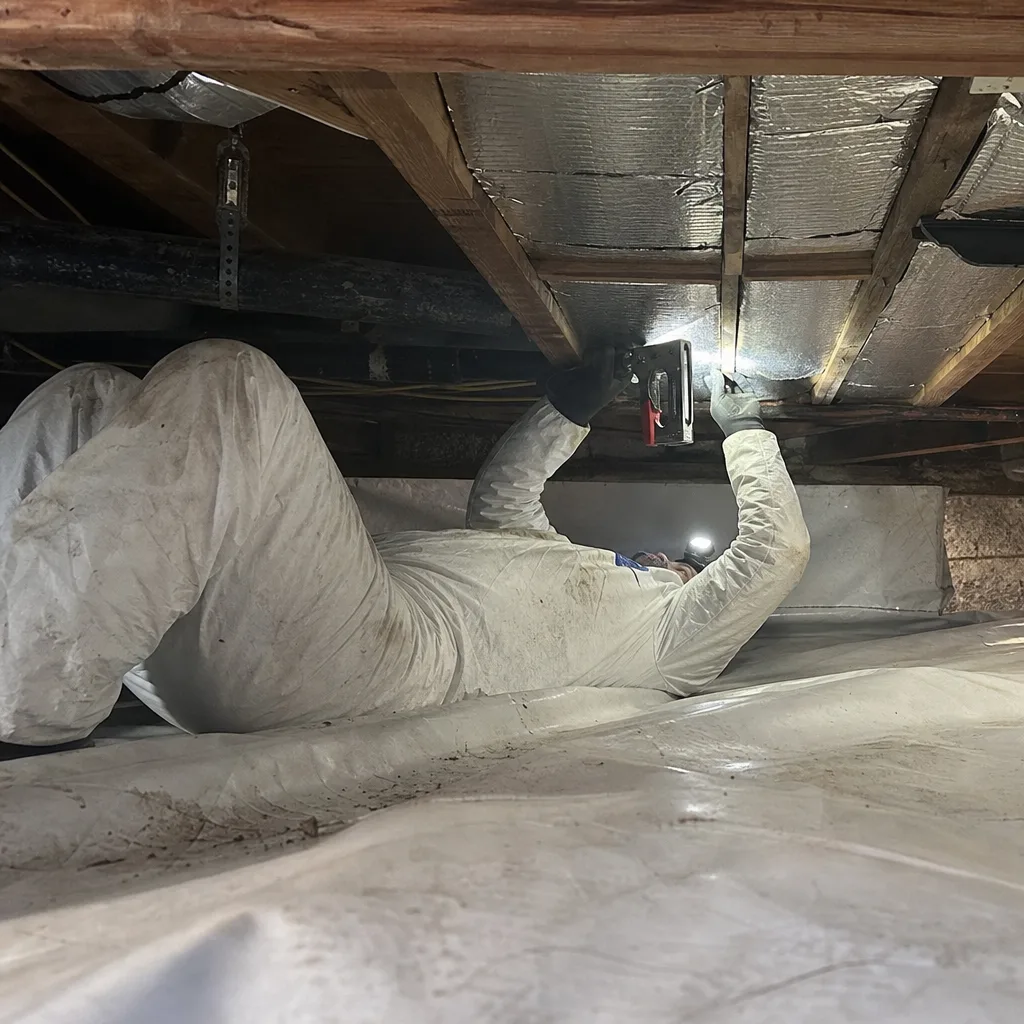
Insulating an accessible crawlspace with rigid foam. Campbell’s crawlspaces tend toward the damp side, especially in older neighborhoods near Los Gatos Creek where the water table sits higher. Rigid foam board (EPS or XPS, 2-inch minimum) against the foundation walls, sealed with canned foam at seams, is viable DIY work if you have full standing access, no active moisture issues, and no rodent damage requiring remediation. Budget $400-$800 in materials for a 1,000-square-foot crawlspace. Time: a full weekend.
What we don’t recommend: blown-in over existing insulation without knowing what’s underneath (old knob-and-tube wiring, moisture damage, rodent activity), spray foam of any type (the chemistry demands precise temperature and mix ratios; off-ratio foam crumbles or outgasses for months), and dense-pack cellulose in walls (requires specialized equipment and knowledge of framing layouts to avoid blocking cavities).
Where DIY Fails: The Instrument Problem
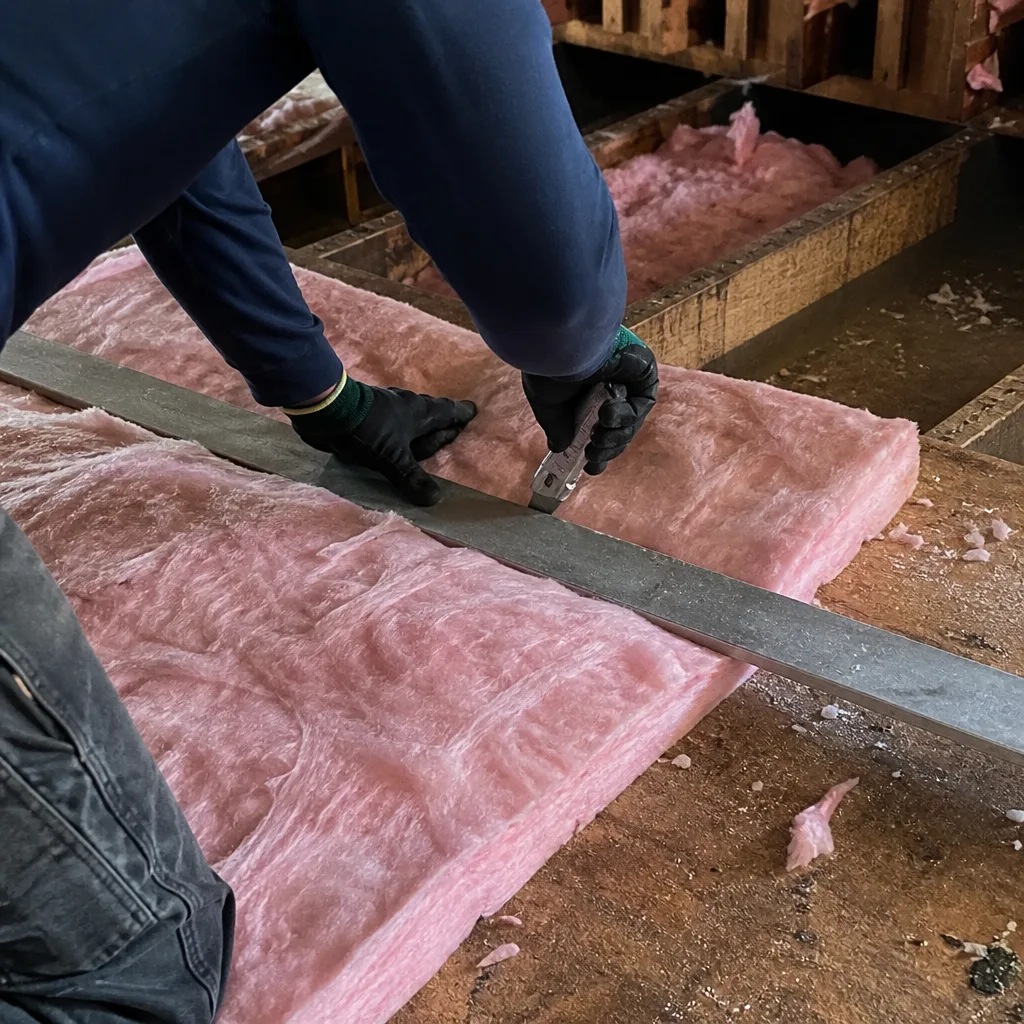
The framing of this debate usually centers on skill. Can a homeowner safely operate a staple gun? Can they work in a hot attic without falling through the ceiling? Those are real questions, but they’re not the decisive ones. The decisive question is whether you can verify that your work produced a measurable change in building performance.
Here’s what we mean. In a typical Campbell home built between 1960 and 1990, the attic floor contains:
- Top plates - the horizontal framing members where interior walls meet the attic floor, each joint leaking 5-20 CFM50 if unsealed
- Recessed can lights - often 10-15 per home, each leaking 10-30 CFM50 if not airtight-rated (ICAT) and sealed
- Chases - vertical passages for plumbing, electrical, or HVAC that create a direct path from conditioned space to attic
- Wire and pipe penetrations - dozens per home, each a potential bypass
Sealing these is tedious but not technically complex. Foam, caulk, rigid board, and proper technique will close them. The problem is confirmation. You can look at a sealed top plate and believe it’s tight. We’ve seen plates that looked sealed leak 150 CFM50 because the foam shrank or missed a gap at the corner. Without a blower-door test - a pressurization reading that shows, in one number, how much air your building envelope is losing - you’re operating on faith.
The same applies to wall insulation. Dense-pack cellulose in a 2×4 wall cavity requires knowing whether the cavity is open at the top (common in balloon framing or homes with dropped soffits), whether fire blocking interrupts the cavity, and whether electrical boxes create leaks. A thermal camera - which shows surface temperature differences that reveal insulation gaps or air movement - makes these problems visible. Without one, you’re insulating blind.
In Campbell specifically, we see this pattern repeatedly in the bungalow stock near Campbell Avenue: homeowners add R-38 blown fiberglass over existing R-19, feel good about the depth, and don’t realize the original 1940s wiring runs through unsealed penetrations that bypass the new insulation entirely. The attic looks great. The blower-door number barely moves.
Equipment Reality Check: What It Costs to Measure
If you want to DIY insulation with verifiable results, you need instruments. Here’s what that costs in the Bay Area as of 2024-2025.
Blower-door rental. The Energy Conservatory Minneapolis Blower Door, the industry standard, rents from several Bay Area energy audit firms and some tool libraries. Typical rates: $150-$250 per day, or $400-$600 for a weekend. You’ll also need a manometer (included in most kits) and training on setup - a blower door is essentially a calibrated fan that depressurizes the house to -50 Pascals, with the airflow rate in CFM50 indicating leakiness. Interpretation matters. A pre-1990 Campbell home might read 4,500 CFM50 before work. After proper air sealing and insulation, we’d expect 2,000-2,500. If your post-work test reads 4,000, something failed.
Thermal camera rental. FLIR or Seek thermal cameras rent from Home Depot and some photography shops at $75-$150 per day. Resolution matters: 320×240 minimum for building diagnostics. Lower-resolution cameras miss subtle patterns. You’ll use this to find insulation voids, air leaks at framing intersections, and moisture issues before they become mold.
Moisture meter. $30-$60 to buy, or included in some rental packages. Essential in Campbell’s variable humidity - we see more moisture-compromised insulation than we’d like, especially near the creek and in homes with original vented crawlspaces.
Total instrument cost for a competent DIY verification: $500-$900 for a weekend, plus 4-6 hours learning to interpret readings. Compare this to a professional energy audit in Campbell, which typically runs $300-$500 and includes the blower-door test, thermal imaging, and a written report with prioritized recommendations.
The honest math: if you’re doing one project, the professional audit is cheaper and more reliable. If you’re a committed DIYer planning multiple projects or helping neighbors, the rental investment might pay out over time - assuming you develop real interpretive skill, which takes practice.
Permits, Liability, and Resale in Campbell
Campbell falls under Santa Clara County’s building code enforcement, with the City of Campbell Building Division handling permits directly. Before starting work, review Insulation Permits, Codes & Inspections in CA: What You Need to Know. Here’s what actually requires a permit for insulation work, what doesn’t, and what happens if you skip it.
No permit required: Adding blown-in or batt insulation to an existing attic, provided you’re not altering structure, electrical, or plumbing. Weatherstripping an attic hatch. Adding rigid foam to crawlspace walls in an accessible, unconditioned crawlspace.
Permit required: Spray foam insulation (fire-rated thermal barrier required by California Building Code Section 2603.4). Any insulation work that involves moving, adding, or altering electrical - which includes insulating around knob-and-tube wiring, a common find in Campbell’s pre-1950 stock. Crawlspace encapsulation that converts a vented crawlspace to conditioned space (mechanical ventilation requirements trigger). Removal of existing insulation if it contains asbestos or vermiculite (abatement permit, separate process).
The resale issue. In Santa Clara County’s disclosure-heavy market, unpermitted work discovered during a pre-sale inspection creates problems. Not catastrophic ones - insulation lacks the life-safety weight of unpermitted electrical - but real ones. We’ve seen sales delayed when a home inspector flagged spray foam without a visible thermal barrier, or when blown insulation covered junction boxes that should remain accessible. The fix is usually pulling a retroactive permit or removing work, both costing more than the original permit would have.
Liability and insurance. If DIY insulation leads to a moisture problem - say, sealing an attic without proper ventilation and creating condensation that damages drywall - your homeowner’s policy may deny coverage for “faulty workmanship.” Professional work carries General Liability and Workers Compensation coverage that shifts this risk. Envelope Insulation Co. carries both, and our Topside Attic Insulation Campbell home services include documentation that satisfies insurer requirements.
Decision Matrix: DIY or Hire?
Use this sequentially. If any answer points to “hire,” the rest is academic.
- Can you access the work area safely? Attic with solid flooring or trusses you can walk, not balance on? Crawlspace with 18+ inches of clearance and no active pest issues? If no, hire.
- Do you know the air barrier status? Has a blower-door test been done, or can you visually confirm sealed top plates, sealed penetrations, and no open chases? If no, hire - or rent a blower door and learn to use it.
- Is there knob-and-tube wiring, asbestos-containing material, or vermiculite insulation present? If yes to any, hire. These are not DIY conditions.
- Does the project require spray foam, dense-pack walls, or crawlspace encapsulation? If yes, hire. The equipment and verification requirements exceed reasonable DIY scope.
- Is your budget $800-$1,500 for instruments plus materials, and do you have time to learn interpretation? If yes, DIY with verification is viable. If no, hire.
- Will you live in the home long enough to benefit from the work, and do you care about documented performance for resale? If yes to both, professional work with blower-door documentation adds value that DIY rarely matches.
In Campbell specifically, we add one more consideration: the age of your HVAC system. Homes with original ductwork in the attic - common in 1970s-1980s builds near West Campbell - leak conditioned air into the attic at rates that overwhelm insulation improvements. A blower-door test with duct blaster attachment (measuring duct leakage separately from envelope leakage) reveals this. DIY insulation without duct testing often produces disappointment we’ve seen firsthand.
Honest Cost Comparison for Campbell Homes
These ranges reflect 2024-2025 pricing for typical Campbell homes, based on our project history and current material costs. For detailed pricing context, see our Insulation Cost Breakdown: The Campbell Homeowner’s Reference for 2026. Your specific home may vary.
DIY attic insulation add-on (blown cellulose or fiberglass, 1,200 sq ft, no air sealing):
- Materials: $500-$700
- Blower rental: $0 (often free with material purchase) to $75
- Personal protective equipment, lighting, access improvements: $100-$200
- Time: 6-10 hours
- Total: $600-$975
DIY with verification (adds blower-door and thermal camera rental):
- Above costs plus instrument rental: $500-$900
- Time: 6-10 hours labor plus 4-6 hours testing and interpretation
- Total: $1,100-$1,875
Professional attic insulation with air sealing (typical Campbell home, 1,200-1,800 sq ft):
- Air sealing (top plates, penetrations, can lights, chase): $800-$1,500
- Blown insulation to R-38 or R-49: $1,200-$2,000
- Blower-door pre- and post-test with documented results: included
- Documented Photo Record: included
- Total: $2,000-$3,500
Professional spray foam (open-cell, roofline application, conditioned attic):
- Typical Campbell home: $4,500-$8,000
- Includes thermal barrier, ventilation assessment, permit
The gap between DIY and professional narrows significantly when you add verification instruments. For roughly $1,000-$1,600 more than pure DIY, professional work includes air sealing expertise, proper equipment, documented performance, and warranty coverage. The Attic Insulation in Campbell page details our specific process and pricing approach.
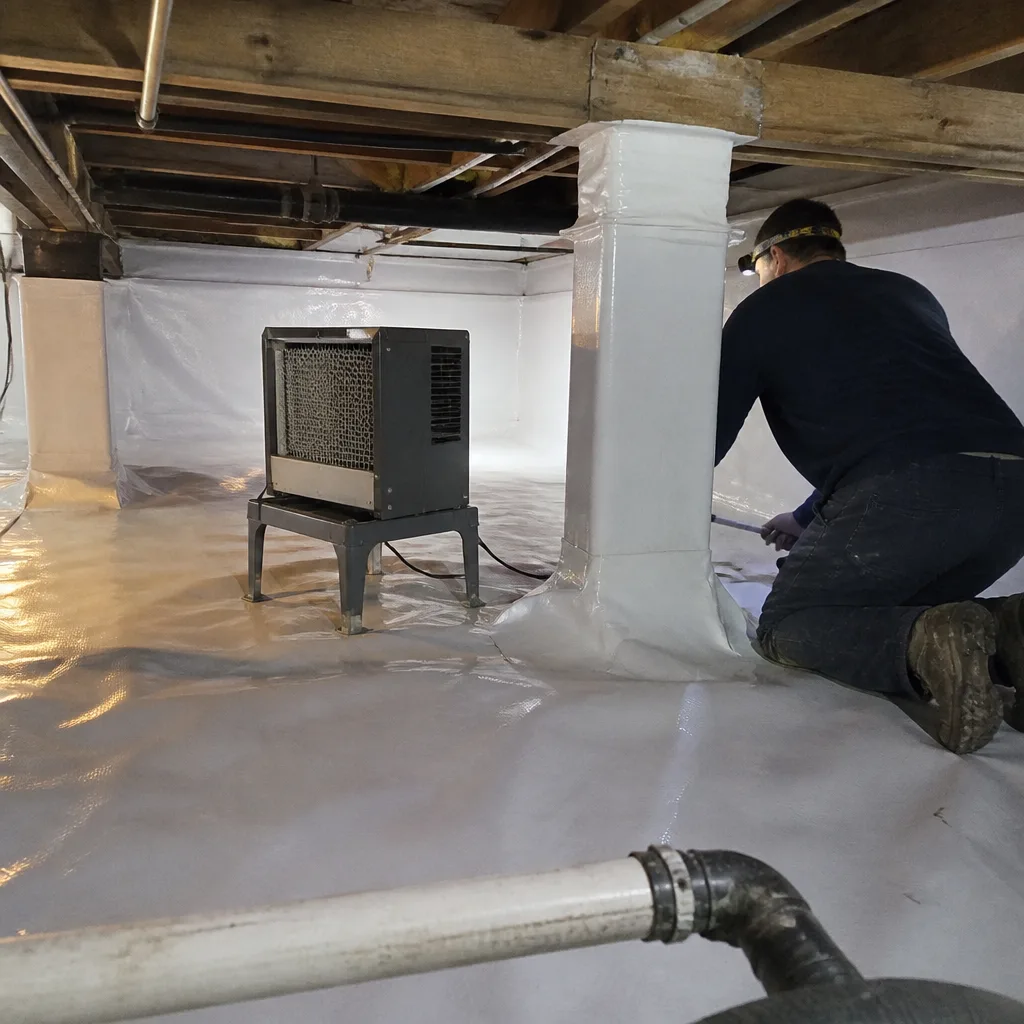
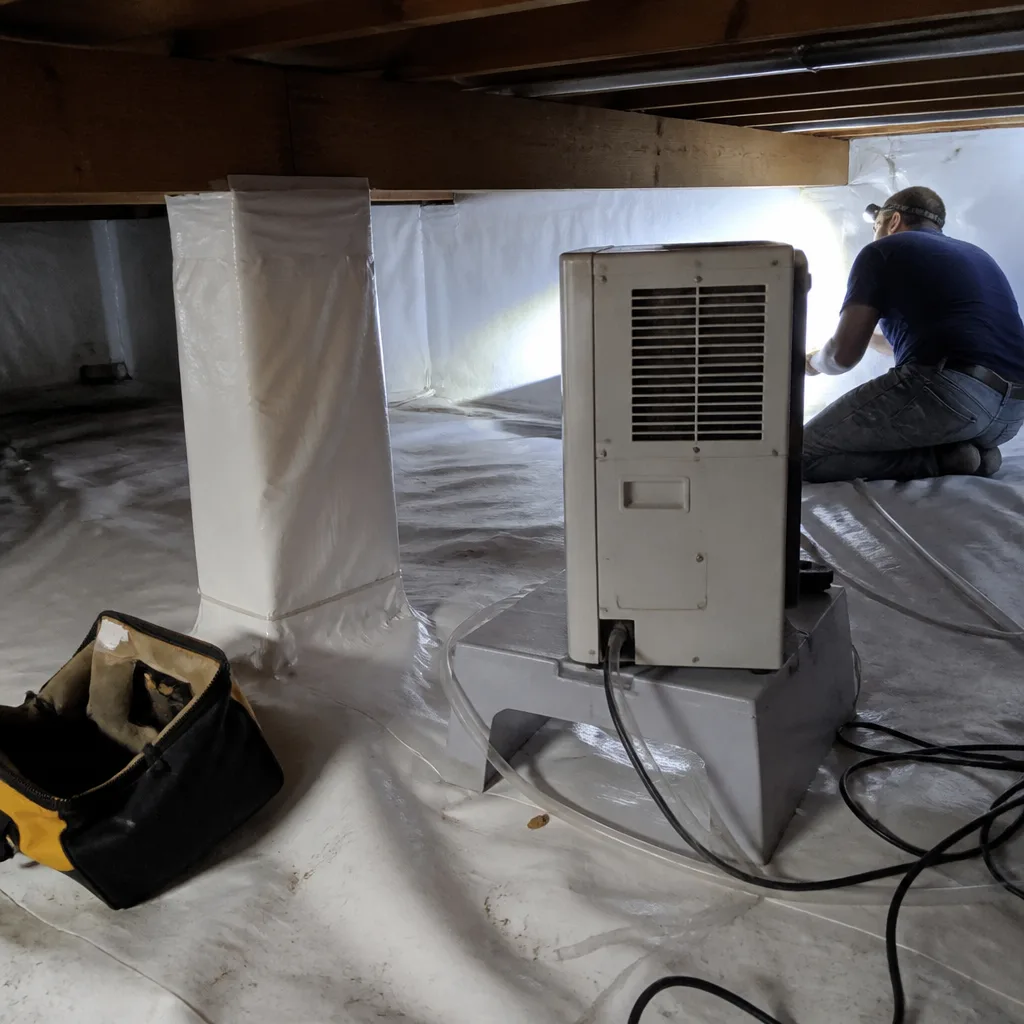
For Crawl Space Encapsulation & Vapor Barrier in Campbell, the DIY-professional gap is wider due to moisture management complexity. Material costs for a basic vapor barrier and rigid foam run $600-$1,200, but proper encapsulation includes drainage assessment, dehumidifier sizing, and mechanical ventilation - all beyond typical DIY scope.
Common Mistakes to Avoid
- Insulating over unsealed air leaks. In Campbell’s older homes near downtown, we’ve pulled back year-old blown insulation to find top plates still gushing conditioned air. The insulation filters the air but doesn’t stop the leak. Always seal first, then insulate.
- Covering recessed can lights with insulation. Non-ICAT (Insulation Contact Air Tight) rated fixtures overheat and create fire hazards. In pre-1990 Campbell homes, most original can lights are not ICAT-rated. Replace or build sealed boxes before insulating over them.
- Ignoring ventilation after sealing. A tighter envelope changes moisture dynamics. We’ve seen DIY attic sealing create condensation issues in Campbell’s spring humidity spikes because ventilation wasn’t adjusted. A blower-door test includes guidance on appropriate ventilation rates.
- Compressing insulation. Blown fiberglass loses R-value when packed. Walking on it, storing boxes on it, or overfilling cavities all reduce performance. R-38 labeled insulation compressed to 8 inches performs like R-25.
- Using the wrong material for the application. Fiberglass in a damp crawlspace absorbs moisture and supports mold. Open-cell spray foam against a roof deck without proper vapor management traps moisture. We specify materials - Owens Corning, Johns Manville, Knauf, Rockwool, and for spray foam, Icynene and Demilec - based on the specific assembly and moisture risk, not brand preference.
- Skipping the post-work test. The most expensive mistake is believing the work worked. Without a post-project blower-door number, you don’t know. We’ve had homeowners call us two years after DIY work, frustrated by unchanged utility bills, and the cause is always unsealed bypasses they couldn’t see.
When to Call a Professional
Call when your project involves air sealing verification, spray foam, wall cavities, knob-and-tube wiring, asbestos or vermiculite, crawlspace moisture management, or any home built before 1990 where the air barrier status is unknown. Not sure where to start? Read How to Hire a Insulation Contractor in Campbell: A Step-by-Step Guide. Call when you want documented performance - a before-and-after number that proves the work changed something. Call when your time has value and a weekend in the attic isn’t how you want to spend it.
Topside Attic Insulation Campbell offers free estimates in Campbell - call (831) 534-3206. Every estimate includes a written price before any work starts, per Haven Standard Clause 1. We also provide free second opinions on any written estimate you’ve received; bring us the quote and we’ll read it with you, line by line, and explain what we see.
Frequently Asked Questions
Most attic insulation jobs in a Campbell home between 1,200 and 1,800 square feet run between $2,000 and $3,500 when air sealing is included, which we require before adding insulation. This covers blower-door pre- and post-testing, air sealing of top plates and penetrations, blown insulation to R-38 or R-49, and a Documented Photo Record. Call (831) 534-3206 for a written price on your specific home - estimates are free.
You can, but it’s inefficient and often costs more. Removing undisturbed blown insulation to access top plates for sealing, then reinstalling, adds labor that exceeds doing both steps together. In our experience across Campbell, the “insulate now, seal later” approach typically adds 30-50% to the total project cost. Seal first, then insulate - in that order.
It can, negatively, if unpermitted work is discovered or if the buyer’s inspector notes covered junction boxes, compressed insulation, or missing thermal barriers on spray foam. Professional work with permits and documentation adds value; DIY work without either creates uncertainty. In Santa Clara County’s disclosure environment, uncertainty translates to price reductions or repair credits.
Campbell’s climate - mild winters, dry summers, occasional humidity spikes - suits several materials. Blown cellulose or fiberglass in attics performs well when paired with proper air sealing. In crawlspaces with moisture risk, we prefer rigid foam or closed-cell spray foam. For Spray Foam Insulation in Campbell, we specify open-cell for roofline conditioned attics and closed-cell for crawlspaces or moisture-prone areas, using Icynene and Demilec products based on the specific application.
Look for sealed top plates (the horizontal framing where walls meet the attic floor) with no visible gaps, sealed or surface-mounted light fixtures rather than recessed cans, and closed chases around plumbing or HVAC. If you see the tops of walls, gaps at framing intersections, or recessed light housings, you don’t have an air barrier. A blower-door test confirms this with a number.
At $300-$500 for a professional test or $400-$600 to rent equipment, it’s worth it if you’re doing air sealing work. For simple depth-addition over a known-good air barrier, skip it. For any project involving sealing, the test is the only way to verify results. We’ve seen Campbell homeowners spend $800 on materials and weekends of labor, then test at 95% of their original leakage - effectively zero improvement. The test prevents this.
The Bottom Line
The DIY-professional line for insulation isn’t about whether you can carry bags up a ladder or operate a blower. It’s about whether you can verify that your work produced a measurable change. In Campbell, that verification requires a blower-door test, a thermal camera, and the knowledge to interpret both. For simple depth-addition projects on already-sealed attics, DIY is genuinely viable and cost-effective. For anything involving air sealing, spray foam, wall cavities, or homes with unknown conditions, the instrument threshold makes professional work the rational choice. The gap in total cost narrows when you account for equipment rental, and the documentation professional work provides - blower-door numbers, photos, permits, warranty - has real value at resale and in energy performance.
Topside Attic Insulation Campbell has sealed and insulated over 9,000 homes since 2016, every one with a written price before work started and a documented record when the crew left. Our 365-Day Done Right Promise applies to all completed work. If you’re weighing DIY against hiring out, call us for a free estimate - we’ll give you a written price, explain what we’d measure and why, and you can decide from there. No pressure, no urgency theater. Just the numbers and what they mean for your home.
Written by Wes Okafor, Owner at Topside Attic Insulation Campbell, serving Campbell since 2016.